Esprit Door Sleeve Repair
S4s and V8 type Esprit and similar, Cable Wiring Sleeve Damage Body to Doors.
by Rob C & Phil CThe cables between the Body and Doors more than often suffer damage due to the Black sleeving splitting. This seems to be very common on the later cars. This repair isn't expensive and shouldn't take too long (although it always seems to) and will return your Esprit to the way it should be. Split sleeves not only look bad, but could over time cause damaged to the wiring, which would require more work than is needed here.
Below is a guide to repairing the sleeve. Getting all the wiring out can take a while and then getting it back in is the same, but it's all fairly simple, just a bit fiddly (as always with Esprits).
Installation
This isn't going to be the most difficult job you attempt on your Esprit, but is very fiddly. Should take 2-3 hours per door.
You will need the following parts:
New sleeve material
You will need the following tools:
Screwdrivers
Electrical Tape
small pliersAs a precaution, Disconnect Battery whilst making this repair, with the window UP. You may have to reset your Alarm system.
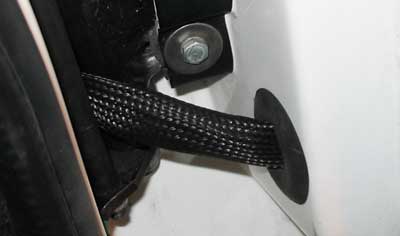
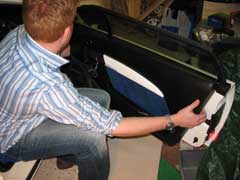
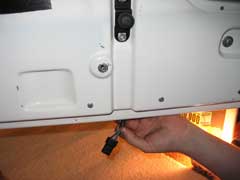
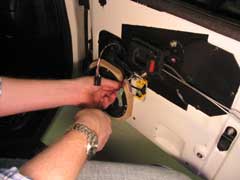
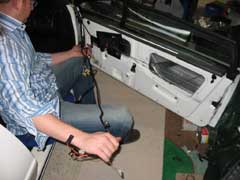
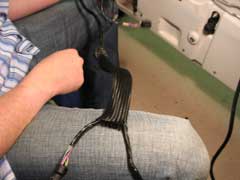
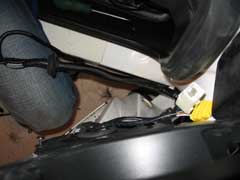
As you can see from above (left) this is the split sleeve. You can clearly see all the wiring open to the elements. First thing to do is to remove the door panel. Undo the lower screw holding the handle on.
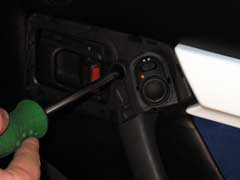
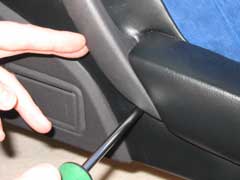
Remove the plastic surround to the Mirror Switch/Door handle care to be made not to scratch it, lever it from the bottom rear corner using a wide flat blade. Its clipped on. Remove the large and small Phillips screws from inside Door handle. There are two screws in the bottom corners of the door panel (picture shows bolts, as rusted screws have been replaced).
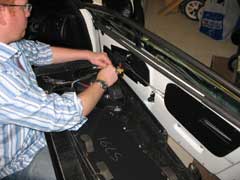
You can now left off the panel, which is still attached by wires to the window/mirror switch. These must be unplugged before the panel can be fully lifted away from the door.
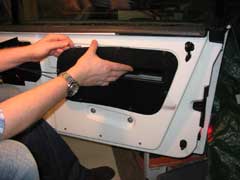
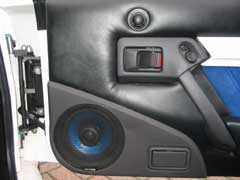
Now it's time to undo all the electrical items in the door (there's more than you think). These included, window motor, central locking motor and door switch and light. Unscrew the light and switch and unplug the wires. You also need to unplug the window motor and central locking plugs, which run right to the back of the door. The rocker switch attached to the central-locking doesn't need removing (we did) as it has a plug in the middle of the wire behind the door beam. You'll see it, but it may be taped up. It's a thick grey wire. Just unplug it there and save yourself the trouble of trying to get the rocker switch back on.
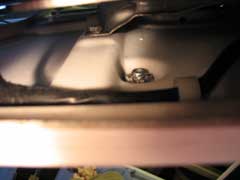
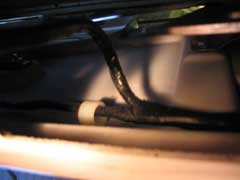
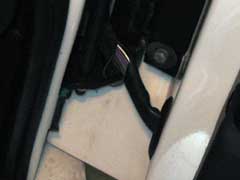
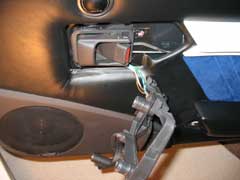
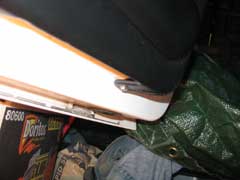
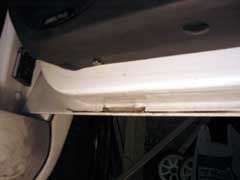
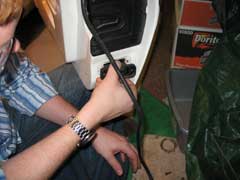
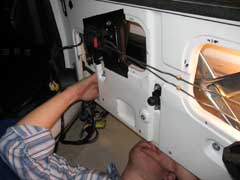
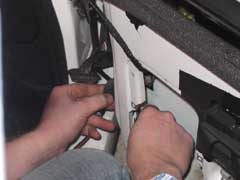
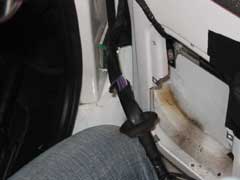
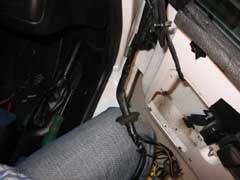
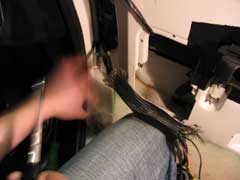
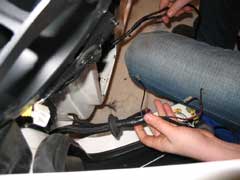
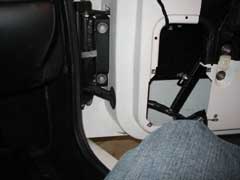
Once these are undo you'll need to feed all the wiring back towards the body. The Wiring is held in place via cable clips that are easy to undue. These run along the bottom of the door. The pictures are taken (above middle and right) from underneath the door.
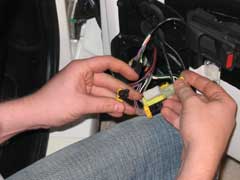
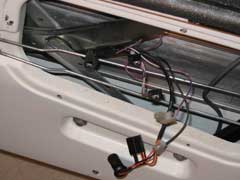
Next remove the Speaker and its wooden Frame via the Small screws. The main cables within the Door frame can be all unplugged, these plugs are all different sizes, so no mistakes will be made on refitting them.

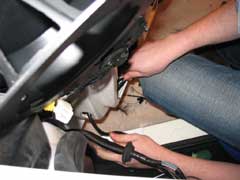
Now remove the wiring and its plugs out from the door with the cable grommet which is levered out (do not cut or remove the Grommet from the wiring harness). Note there is a certain amount of slack cable up inside the Body that can be pulled out.
With all the door wiring laid out carefully pull back the Grommet away from the damaged Sleeve. Using a sharp Stanley Knife or similar cut away the old Damaged Black sleeve, pulling slack cable from within Body to release all the sleeving. Great care should be taken not to cut any of the wires. Or you can tape up the damaged sleeve with electrical tape and then place the new sleeve over this.
Fitting the New expandable Aircraft Quality Sleeving isn't a difficult as it may first seem. Cut a length at least a couple of inches longer than you need, as it will fray when pushing the cables thought.
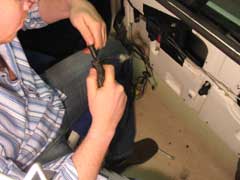
The Sleeving can be pushed towards its self to enable all the cable wiring and Plugs to be passed through it. Most of the cables will go through (do them a few at a time). The hardest part is the door grommet. The trick we used was to use electrical tape it tightly down to the cable. Now that the sleeving is mounted on the wiring harness stretching it out will make it small again, at this point using insulation tape over the ends to keep it tight and to enable fitting it through the Grommets, it should be now possible to slide the cable harness back through the Body just enough to fit through the Grommet in the Body behind the Door Hinge, it is possible to gain access inside the Body via the inner panel there to pull the cables through if needed.
Next the wiring is passed back inside the door and the Grommet refitted. All the Plugs refitted and the cables re-clipped as they were. Tests can be made before re fitting Door panel if needed for peace of mind, leave ICE switched off (speaker is still disconnected)
Reconnect Battery, all except the Mirror switch as its not plugged in yet, should work anything not working recheck all plugs are fitted tightly.
Should you have any cable wiring damage, then the individual wires should be repaired with an inline cable crimp and each wire extended, with the cable Crimped wire fitted inside the Body and another crimp will be fitted so that sits inside the Door, suitably taped onto the harness, This Repair will be done after the Old Sleeve is removed, but before fitting new sleeve.
Refit Door Panel, Mirror switch plug and Speaker wires, Retest all systems. Nice clean Job, looks good two.
LEW's Verdict
This is a job that doesn't really need doing, but should be done to keep your Esprit in tip-top condition and looking good. It seems the material used at the factory isn't up to the job, so it's down to us to sort if out. It's quite a large job for what it achieves, so keep that in mind if you attempt it. All in all it's a nice improvement and will last a life time, so if you've got a spare day, do it.
This mod was performed by Phil Copperwheat on his MY99 Esprit Sport 350.
If you try this, feel free to e-mail me with your Verdict at admin@lotusespritworld.com
|
|