
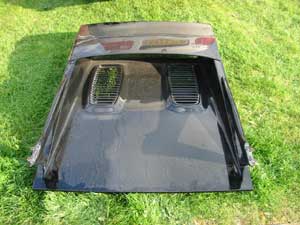
Rear Hatch: Removal & Refitting
There isn't a huge amount of reasons to remove the rear hatch of the Esprit. Things like removing the Engine, aren't usually done at home (although I know of people who have). But if does give better access to the Engine. I removed mine to remove my rear wing, which was Allen bolted to the rear hatch. As I was removing the hatch, I thought I'd do a guide, just incase some else was removing theirs.
|
You will need the following parts: None |
You will need the following tools: 10mm
socket or spanner x2 |
Taking it off is really easy. You'll need a hand, as the hatch is a little too heavy for one person. Refitting it is a little more tricky. Realigning it is the hard part.

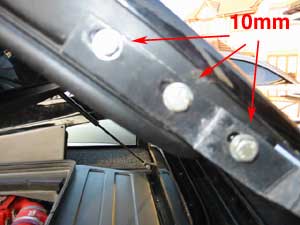
The rear hatch is held to the Esprit by 6 x 10mm bolts. 3 either side. It is supported by to gas struts. To remove the hatch loosen the 6 bolts. Then with someone supporting the hatch. Remove the struts. The hatch will need holding up while you start removing the bolts
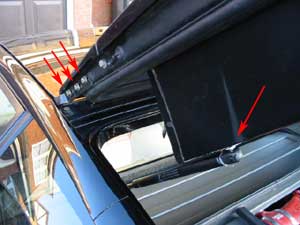

Remove the inner and outer bolts first. Then you can remove the middle one. You now have one side free. You can how support the hatch while the other person removes the bolts their side. Once this is done, you can slowly lift the hatch and remove it from the Esprit.
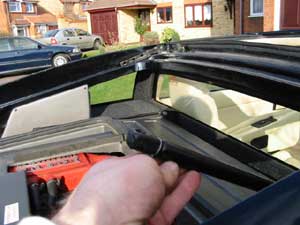
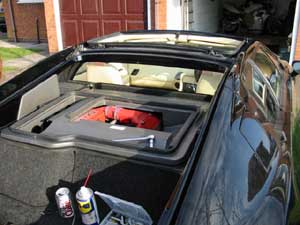
The Struts should pull off, but you may find them very stiff (as I did). I haven't worked out any special way of removing them, other than using force to pull them off. You can see from the picture above, how removing the rear hatch improves engine access.
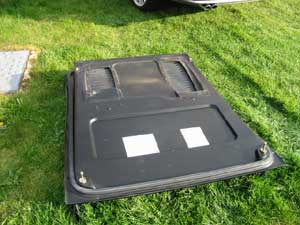

Once the hatch is removed, place it somewhere safe that won't scratch the paintwork. Refitting the hatch is of course the same as removing it, only in reverse. Support the hatch in place over the Esprit while the bolts are refitted both sides. Now the trick to realign the hatch is not to attach the struts. These will push the bolts out of alignment if they're not fully tighten.
Tighten the bolts, but not fully. You should be able to get an ideal of where they were before by the marks on the plates. Then you can test the alignment. Make sure the gap around the hatch is even, both sides and the bottom. Check that the hatch clips will not fowl. Once you are happy with the alignment. You can tighten the bolts fully and reattach the struts.

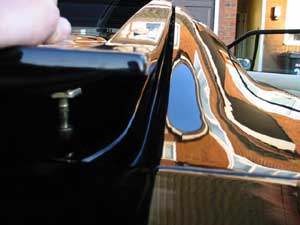
Now to test the alignment by trying to close the hatch and reopening it again. Mine closed OK three times, but wouldn't open. The clips, although aligned, were fowling slightly on the clips, stopping the hatch from reopening. To release the hatch again, I simple held on to the sides and pulled to move the hatch slightly left to right. This released the hatch. I could be realign slightly and try again. If you do need to realign the hatch, you'll need to take the struts off again. If you loosen the bolts with the strut in place, they will push the hatch out to its furthest alignment.
LEW's Verdict
As I said at the top, there isn't a lot of reason to remove the hatch, but if you do need to, its easy. Shouldn't take more than 10 mins. Refitting is a little more difficult, as I found realigning the hatch a problem, but even then it only took 30 minutes. I think now I've done it once, it would be easy next time, although I'm not sure why I'll be removing it again.
If you try this or feel you can add to this guide, feel free to e-mail me with your Verdict at kato@lotusespritworld.com
![]()
|
|